
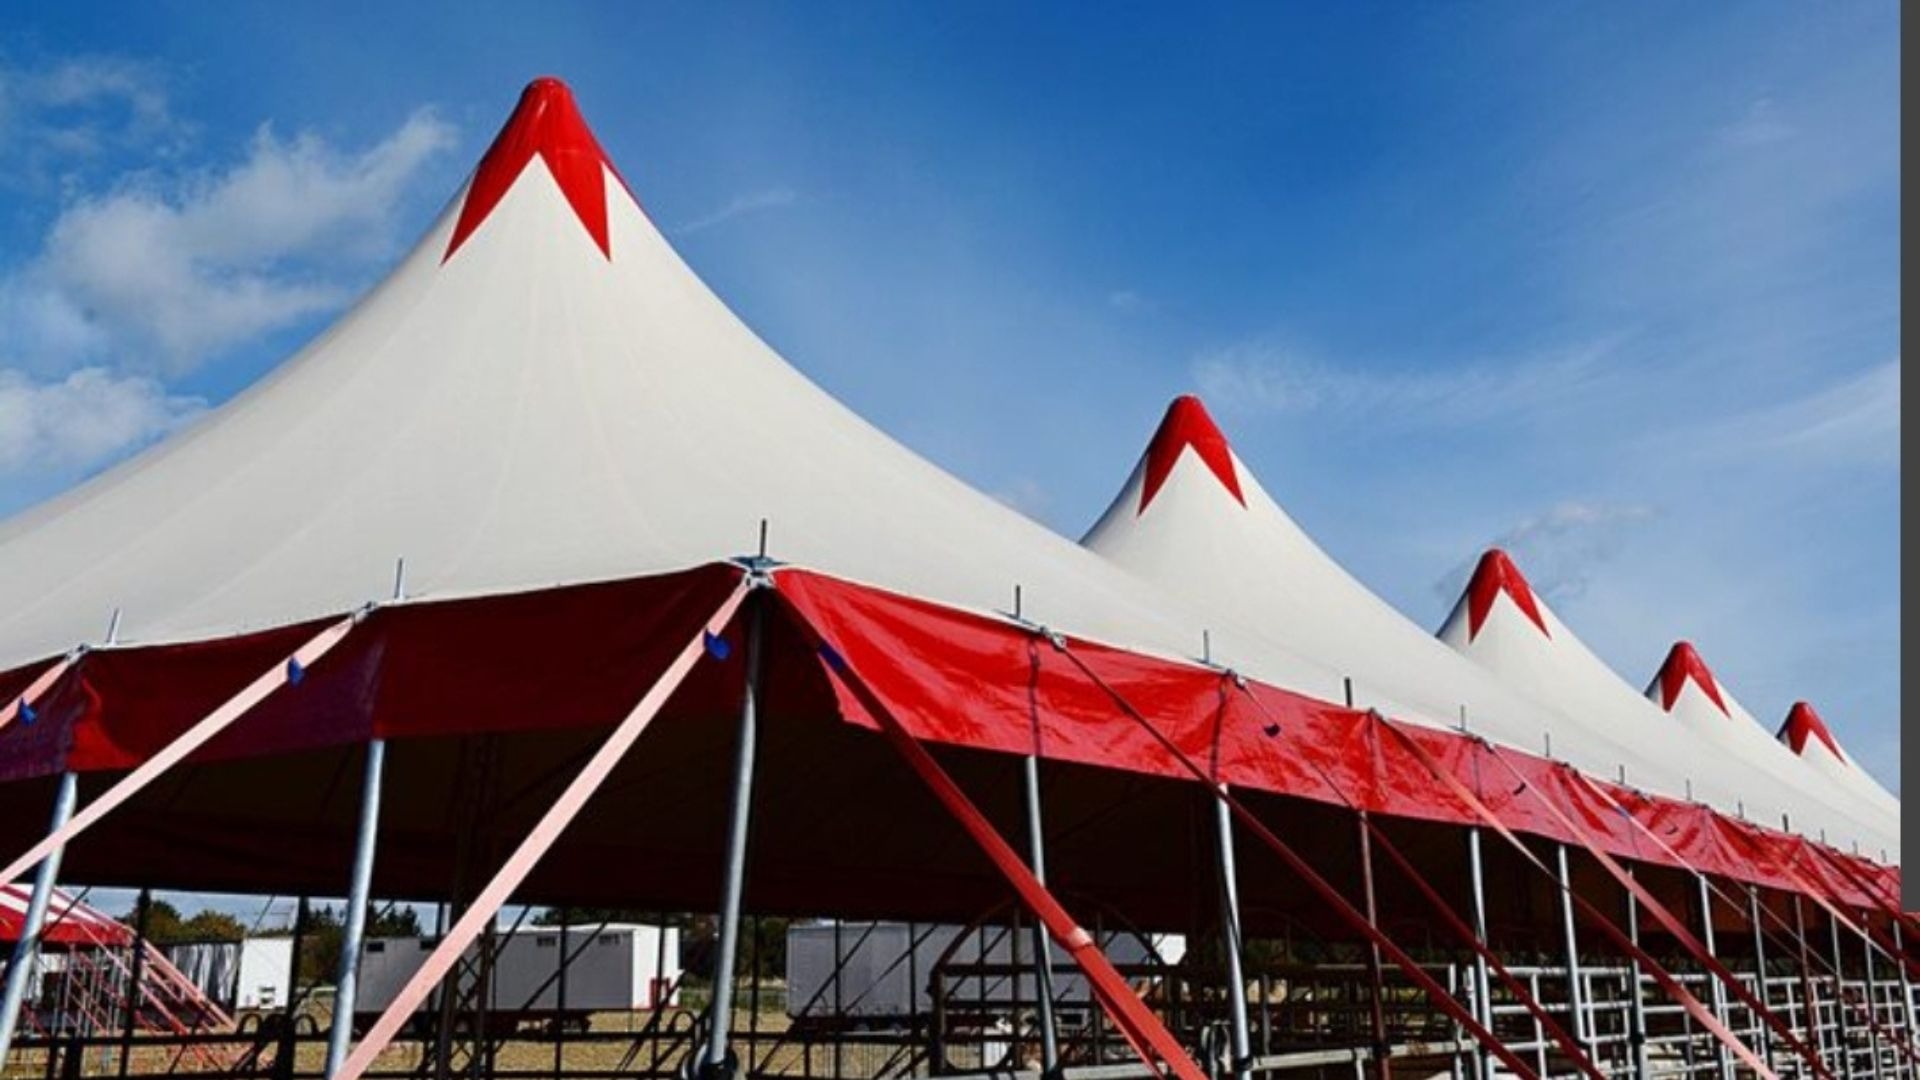
The setup process is a crucial element in any outdoor trade show, promotional event, or business exhibit, as it can make or break the overall experience of the event. A set-up tent not only helps to safeguard gear and guests, but it also has the potential to act as an important branding element that impacts the visibility and interaction of all. While modern custom event tents can be easily transported and make a significant impact, it is the preparation, organization, and installation that can make all the difference in creating a polished presentation. If the setups are not done correctly, it can result in instability and delays, and the overall ambiance can be negatively impacted. Businesses can easily keep event tents safe, attractive, and fully operational during the event by following the steps in the checklist. Proper planning, the right equipment, and attention to detail can help ensure a stress-free setup process, improving operational efficiency and the brand’s presentation.
5 Essential Steps For Professional Event Tent Installation
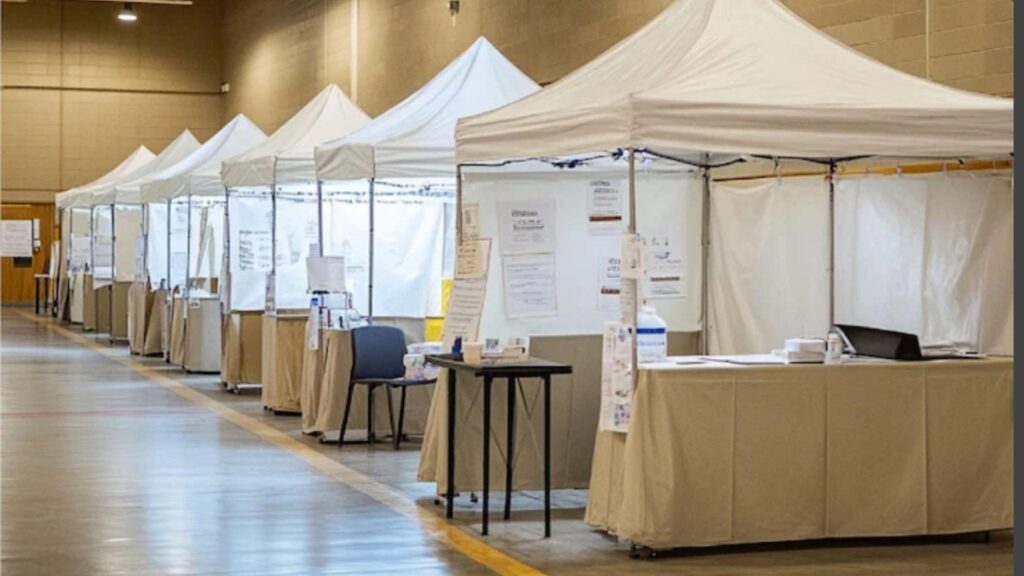
- Prior to Assembly, Prepare the Site and Organize Equipment
Large branding additions such as trade show inflatables often require careful positioning and coordination alongside event tents to create a cohesive and visually impactful display. The placement of the installation site before assembly is important to make sure that all structural and promotional aspects are compatible.
The set-up area should be checked for uneven ground, obstacles, or environmental hazards that may cause instability. Measuring the available space beforehand helps confirm that the tent, inflatables, signage, and additional accessories fit comfortably within the event layout.
An efficient workflow is also improved by organizing all the equipment prior to assembly. When the components are separated in the frame, canopy materials, weights, stakes, and branding accessories are less confusing and decrease setup time during installation.
- Carefully and Securely Assemble the Frame
The tent frame is the backbone of the structure, so it is crucial that it is properly assembled to ensure safety and durability. When unfolding frames, they need to be spread out slowly and properly, and locking mechanisms should be fastened after the frames are unfolded.
Joints, connectors, and support bars can be inspected before the canopy is assembled to identify any loose or damaged parts. When the frame is fully expanded and balanced, it’s more stable and won’t put any strain on the structure during use.
The professional setups have symmetry and alignment as important considerations as well. The even spacing and level positioning add to the clean look while helping to maintain structural integrity over the long run throughout the event.
- Properly Attach the Canopy and Branding Elements
After the frame is in place, the canopy fabric and branding items can be installed. Proper attachment allows graphics to be smooth, visible, and wrinkle-free to minimize wind-induced movement.
The top of the canopy should be even; it will not be taut and will not give the same professional look as printed branding elements. The sidewalls, banners, and promotional displays should also be consistent to create a cohesive visual presentation.
When branding placement becomes a critical issue, particularly in a space such as an event where visibility is a key driver for engagement, it is important to pay particular attention to it. Properly installed graphics and a clean display add to the overall professionalism of your display.
- Install Stability and Reinforce for Outdoor Use
Tents are frequently used in outdoor settings, where the weather is unpredictable, and they may be subjected to wind, rain, or uneven surfaces. Stability reinforcement is crucial to ensure the safety and prevent movement of the structure during operation.
There are extra supports like weighted plates, stakes, sandbags, and tie-downs to help anchor the tent to the ground. The location and environmental conditions of the event need to be considered when deciding on which reinforcement methods to use.
The tension points and anchor systems are checked regularly during the event, which further enhances stability. A well-pitched tent will keep everyone and their gear safe, and keep everything looking neat and orderly even under difficult weather conditions.
- Conduct Final Inspections and Optimize Layout Flow
The final installation step is to assess the presentation, safety, and functionality of the entire event setup. A full walk-through will enable organizers to determine any changes that need to be made prior to the attendees.
Inspection should cover the structure’s stability, the visibility of the branding, cable handling, lighting location, and ease of access for the tent area. Pathways must remain uncluttered and unclaimed to facilitate the flow of visitors through the space and the ease of interaction among people in the space.
Better layout flow also means better attendee participation. Displays, seating areas, and promotional materials are strategically placed to enhance the environment, aiding both the operation and the experience of the audience.
End Point
The key points of a professional event tent installation are preparation, structural accuracy, branding consistency, stability reinforcement, and final layout optimization. With a properly organized setup, businesses can construct a visually striking and very functional event setting while minimizing stress and operational problems. Whether at a trade show or an outdoor event, a well-erected tent can greatly enhance brand presence, improve the visitor experience, and help make the event more successful
 Laura Tremewan